
In Australia, cooking equipment was involved in 41% of residential building fires, with grease accumulation in cooker hoods contributing to 22% of these incidents according to the AU Fire Safety Report 2023 and AS 1668.2-2012. That changes the way a cooker hood should be viewed. It isn't just a stainless steel panel above the cooktop. It's a grease collection system sitting close to heat.
A clean hood also works better. Dirty filters choke airflow, leave odours hanging in the kitchen, and force the appliance to work harder than it should. For busy Australian homes that cook with oil, sear at high heat, or fry regularly, cleaning isn't about appearance first. It's about fire safety, air quality, and helping the unit last.
Table of Contents
- Why Cleaning Your Cooker Hood Is a Critical Safety Task
- Preparing for a Safe and Effective Clean
- The Ultimate Guide to Cleaning Cooker Hood Filters
- Achieving a Streak-Free Finish on Your Hood Exterior
- Deep Cleaning the Hood Interior and Fan Blades
- Creating Your Cooker Hood Cleaning Schedule
- Troubleshooting and When to Call a Professional
Why Cleaning Your Cooker Hood Is a Critical Safety Task
Cleaning a cooker hood is often viewed as a kitchen presentation job. Grease is the primary concern. Once grease starts building inside the filter and canopy, it becomes fuel sitting above a hot cooking zone.
Australian standards recognise that risk. AS 1668.2-2012 mandates regular cleaning to mitigate these risks, and the fire data behind that requirement is clear in the AU Fire Safety Report 2023 and AS 1668.2-2012. A neglected hood doesn't fail all at once. It usually gets stickier, noisier, and less effective first.
What grease build-up actually does
Grease changes the hood in three practical ways:
- It raises fire risk: residue inside filters and around the fan gives heat and flame more material to catch.
- It cuts extraction: smoke and cooking vapour stay in the room longer.
- It shortens appliance life: motors and switches cope poorly when grime keeps circulating through the unit.
That's why how to clean cooker hood properly matters. The goal isn't a quick wipe over visible steel. The goal is removing the grease from the parts that affect safety and performance.
Practical rule: If the hood feels sticky, smells stale after cooking, or leaves a haze in the kitchen, the problem is usually deeper than the outer surface.
Why Australian kitchens need a realistic approach
Many local households cook fast and hot. Oil vapour from stir-fries, pan searing, and weekend fry-ups can load a filter quickly. Open-plan homes also make poor extraction more obvious because cooking smells move straight into living areas.
A proper clean deals with the parts that trap grease first, then the interior, then the exterior finish. That order matters. It solves the safety problem before the cosmetic one.
Preparing for a Safe and Effective Clean
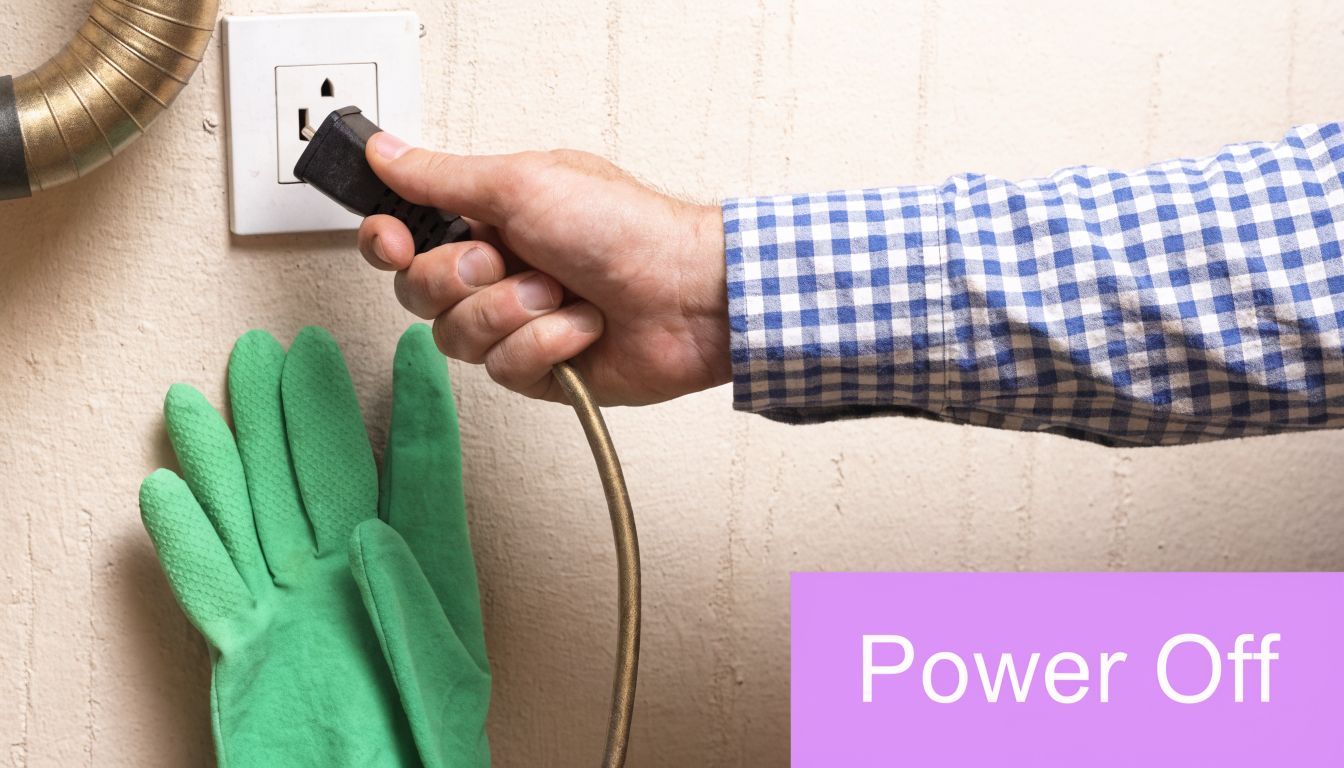
The first job is electrical safety. Before touching the hood, switch it off at the isolator if there is one, or turn the circuit off so there's no chance of the fan or light operating during cleaning. Water, metal filters, and live components are a bad combination.
A rushed setup causes most avoidable problems. Scratched steel, dirty degreaser streaks on splashbacks, and bent filters usually happen before the actual cleaning even starts. A careful preparation routine prevents that. It's the same reason many households benefit from reviewing common cleaning mistakes Australians make before tackling appliance jobs.
What to gather before starting
Set everything out first so the hood isn't left half-disassembled while someone searches for a cloth.
- Protective gear: nitrile gloves and older clothes.
- Surface protection: towels or a drop sheet over the cooktop and bench edges.
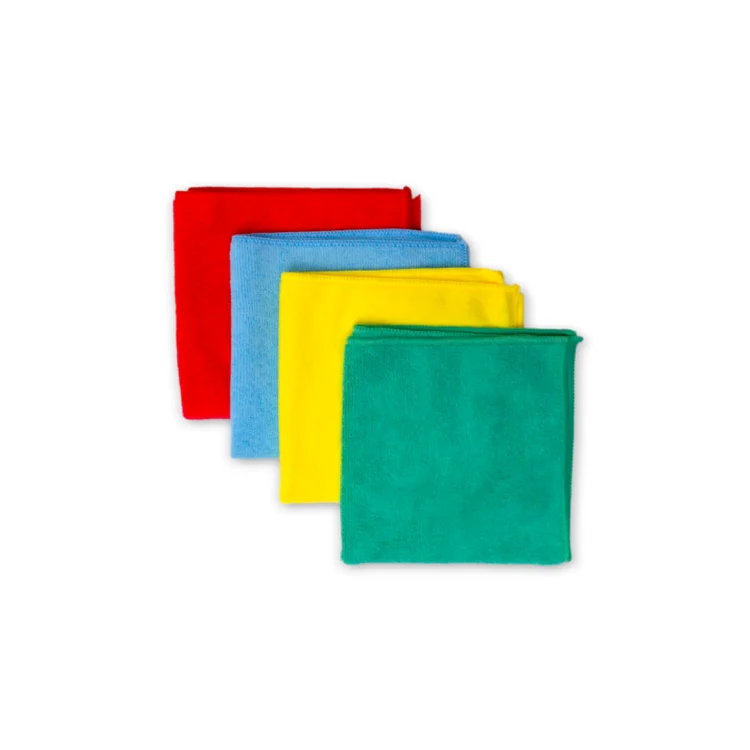
- Cleaning tools: microfibre cloths, a nylon brush, a non-abrasive sponge, and a plastic scraper.
- Cleaning agents: dishwashing liquid, bicarbonate of soda, and a suitable degreaser for heavy grease.
- Drying setup: a dish rack, towel, or drying mat where filters can sit upright.
A quick pre-clean check
Before removing anything, look at how the filters lock in. Some slide, some hinge, and some have a small catch that bends if forced. If the hood uses charcoal filters in a recirculating model, check the manual before washing. Those filters are usually replacement items rather than washable parts.
Keep liquids under control. Spray onto a cloth when working near buttons, lights, or wiring points rather than spraying directly into the hood.
Once the area is protected and the power is isolated, the cleaning itself becomes much simpler and much safer.
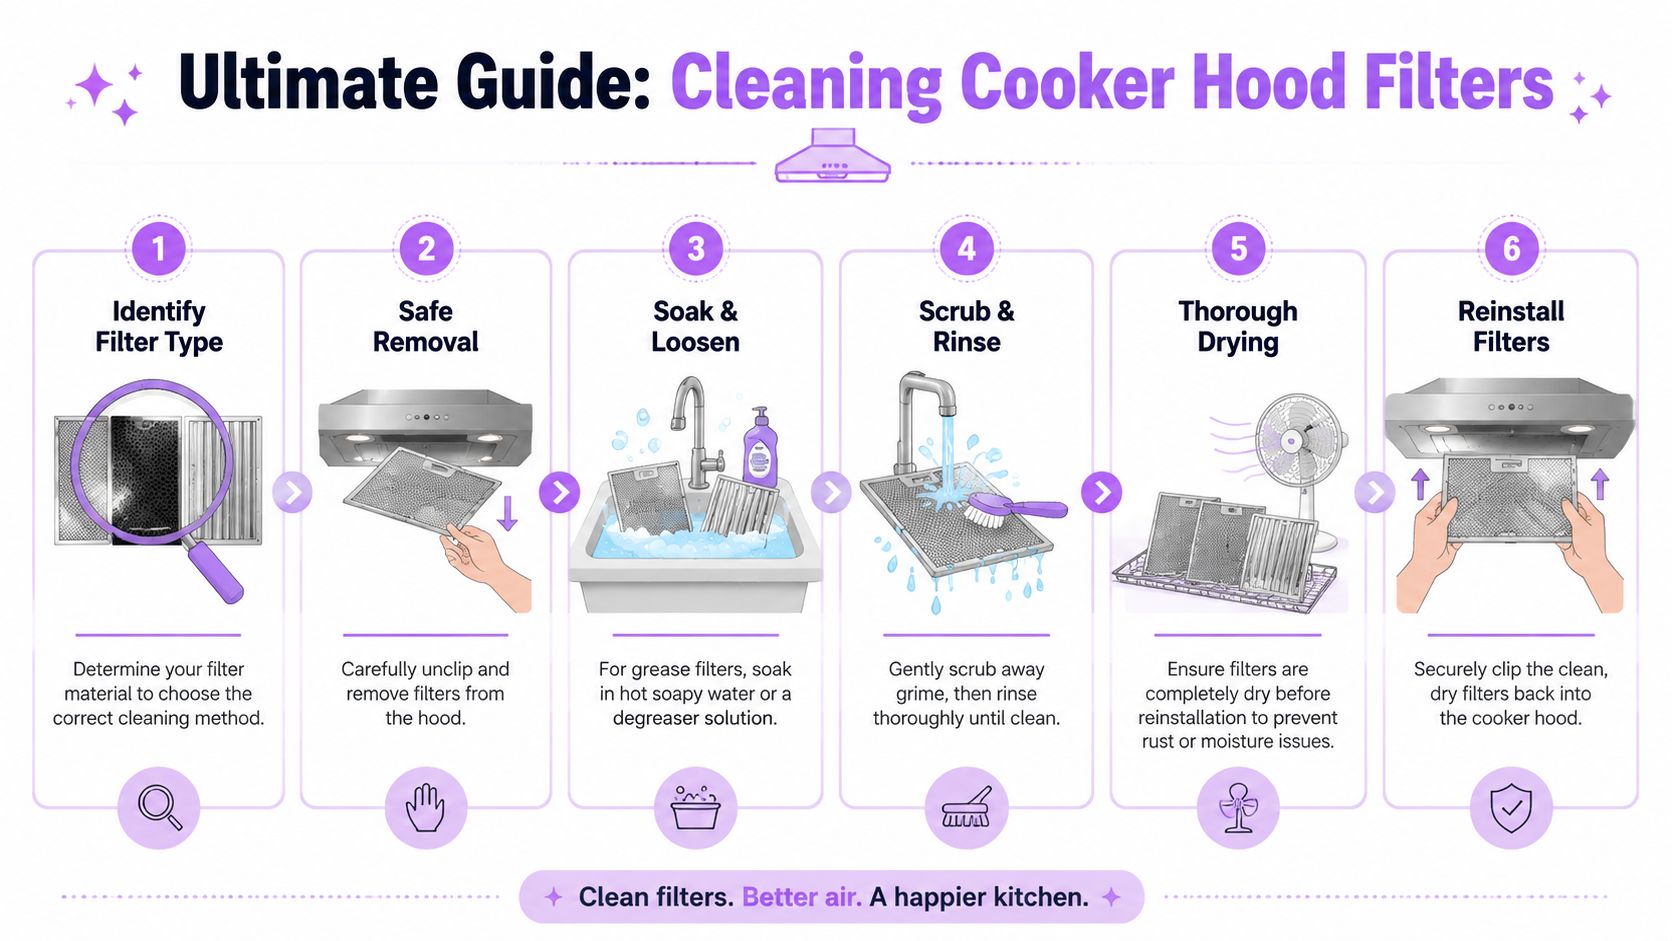
The Ultimate Guide to Cleaning Cooker Hood Filters
Cooker hood filters are the fire break inside the unit. They stop grease from reaching the fan, the duct, and the parts that run hot during cooking. Under AS 1668.2, kitchen exhaust systems are there to remove grease-laden air safely. In a home kitchen, a clogged filter cuts that protection down fast. You get weaker capture over the cooktop, more greasy residue settling through the room, and more strain on the motor.
The right method depends on the filter material. Metal mesh and baffle filters are usually washable. Charcoal filters usually are not. Matching the cleaning method to the filter type protects the hood and gets a better result than forcing old grease off with brute pressure.
Metal mesh and baffle filters
Soaking is the part that does the heavy lifting. Warm water and degreaser soften the grease film so it releases from the metal without bending the filter or stripping its finish. In Sydney, Melbourne, and Brisbane kitchens where frying, grilling, or wok cooking happens several nights a week, this matters. The heaviest build-up is usually around the lower edge and the corners, where grease cools and hardens first.
Use this process:
- Remove the filters carefully. Hold the frame with both hands so the mesh or baffle panel does not twist.
- Prepare a sink or tub of hot water. Use water that is hot enough to soften grease but still safe to work with.
- Add a proper degreaser. Dishwashing liquid is fine for light build-up. For thicker residue, use a purpose-made product such as Actichem VDS 5L powerful degreaser according to the label directions.
- Submerge the filters fully. Let time do the work. A good soak is safer and more effective than aggressive scrubbing.
- Treat baked-on patches. Apply a bicarbonate of soda paste to dark, stubborn spots around the frame and folded seams.
- Brush gently. Use a nylon brush to lift softened grease from the surface and corners.
- Rinse well and dry completely. Reinstalling a damp filter can trap moisture in the hood and attract fresh grease faster.
One trade-off is time versus effort. A longer soak usually means less scrubbing, less risk of bent mesh, and a more even clean.
What works and what doesn't
Some methods save a few minutes at the sink but create bigger problems later, especially if the filter coating gets scratched or the frame gets distorted.
| Method | Works well | Main trade-off |
|---|---|---|
| Hot water and degreaser soak | Yes, especially on thick grease | Needs soaking time |
| Dishwasher cycle | Sometimes, for some metal filters | Older grease often remains, and some finishes dull over time |
| Dry scrubbing first | Rarely | Pushes grease into the mesh and can deform the filter |
| Harsh abrasive pads | No | Scratches metal, removes coatings, and shortens filter life |
A clean filter should release grease because it has softened, not because the metal has been forced into submission.
Charcoal filters in recirculating hoods
Charcoal filters do a different job. They absorb odours. They do not handle grease the way metal filters do, and in most domestic hoods they are replacement parts, not washable parts.
If the hood still smells stale after the grease filters are cleaned, check behind them for a charcoal cartridge. If it looks like foam, felt, or a black carbon cassette, leave it dry unless the manufacturer states clearly that it is washable. Washing the wrong type usually ruins the filter media and leaves the hood circulating dirty air back into the kitchen.
That matters for air quality as much as smell. Once a charcoal filter is spent, the hood can keep running while doing very little to clear cooking fumes.
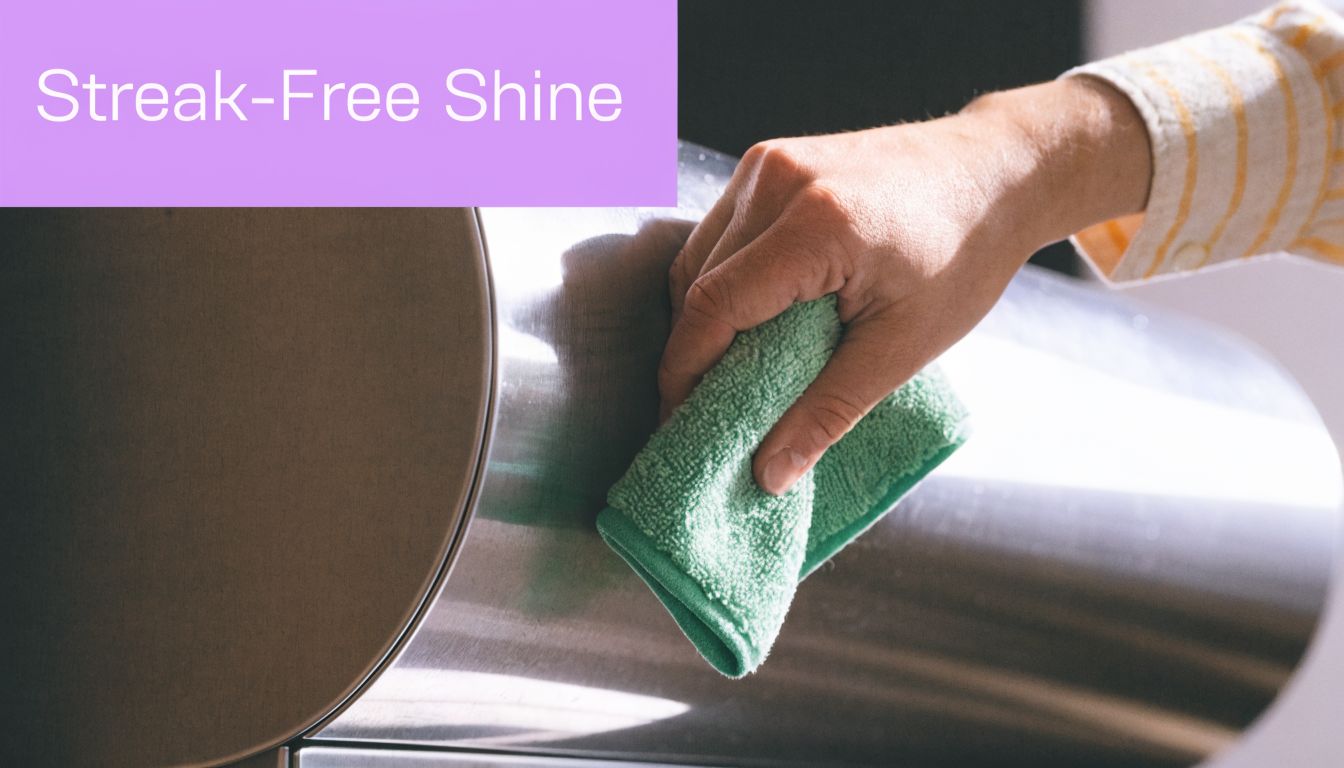
Achieving a Streak-Free Finish on Your Hood Exterior
Once the filters are clean and drying, the hood body can be finished properly. Many people undo good work at this stage by using the wrong cloth or wiping stainless steel in circles.
The best result usually comes from gentle product choice and disciplined wiping. That's the same thinking behind many eco-friendly cleaning services in Australia. Stronger chemical smell doesn't automatically mean a better clean.
Stainless steel
Stainless looks durable, but it marks easily. Wipe with the grain, not across it. If the grain runs vertically, every cloth pass should run vertically too.
Use this sequence:
- First cloth: slightly damp with warm water and a small amount of detergent or degreaser.
- Second cloth: clean and damp to remove residue.
- Third cloth: dry microfibre for buffing.
Spraying product directly onto the control area is risky. Apply it to the cloth first and keep moisture out of switches and light fittings.
Glass and painted finishes
Glass needs a different touch. The two-cloth method works best. One cloth loosens grease, the second dries and clears the surface before residue flashes into streaks.
Painted undersides and trim pieces should be treated even more carefully. Abrasive cream cleansers and scouring pads can dull the finish quickly. A soft sponge, mild detergent, and patient repeat passes usually outperform aggressive scrubbing.
If the exterior still feels tacky after wiping, grease residue is still there. Rewash with a fresh cloth rather than polishing over it.
The most common finishing mistakes
A good exterior finish usually fails because of one of these choices:
- Using too much product: excess cleaner leaves smears.
- Using one dirty cloth for everything: grease gets redistributed.
- Buffing before residue is removed: the surface shines unevenly.
- Ignoring the top edge of the chimney: airborne oil settles there and drips back down later.
A polished hood should feel smooth, not just look shiny under one angle of light.
Deep Cleaning the Hood Interior and Fan Blades
Grease inside the canopy is the part that raises the key safety concern. Once it builds up around the inner frame and fan housing, airflow drops, cooking odours linger longer, and the residue sits closer to heat and electrical components. Under AS 1668.2, kitchen exhaust systems are there to remove heat, smoke, and contaminants efficiently. A greasy interior works against that job.
Remove the filters first, then inspect the underside with a torch. Check the internal rim, screw heads, corners, and the area around the fan inlet. If the surface looks glossy, brown, or sticky, the grease has moved past light maintenance and needs a controlled clean.
A safer way to tackle heavy interior grease
Heavy grease responds to chemistry and patience more than force. In practice, the safest method is to apply an alkaline degreaser to a cloth or directly onto accessible metal surfaces, let it sit briefly, then lift the softened film in layers. Scrubbing too early usually smears the grease around and pushes it into seams.
Use this sequence:
- Turn power off at the isolation switch if accessible, or switch the hood off at the wall.
- Lay towels or an old sheet over the cooktop to catch drips.
- Apply degreaser to a cloth or onto reachable metal surfaces only. Keep clear of wiring, switches, lamp holders, and the motor body.
- Allow a short dwell time so the product can break down the residue.
- Lift softened grease with a plastic scraper or folded cloth.
- Wipe from the back of the canopy toward the front, and from top surfaces downward, so loosened grime does not spread back over clean metal.
- Finish with a clean damp cloth to remove cleaner residue.
Do not soak the interior. Controlled moisture protects the electrics and reduces the risk of cleaner pooling in concealed sections.
Fan blades and internal parts
Fan blades need a careful hand. Bent blades can throw the fan out of balance, which often shows up as rattling, vibration, or a harsher motor sound during use. I treat each blade with a damp microfibre cloth and several light passes rather than one hard scrub.
If grease has hardened on the leading edge of the blades, hold the blade steady with one hand and wipe with the other. Avoid twisting pressure. On older units, plastic components can become brittle from years of heat, and that is where rough cleaning turns a maintenance job into a repair.
Motor housings should only be wiped externally where the manufacturer allows access. Spraying degreaser into the motor cavity is risky and can shorten appliance life. The aim is to restore airflow and reduce grease load, not flood the unit.
If there's visible grime elsewhere in the ventilation system, it helps to understand related extraction cleaning basics. For readers dealing with moisture-prone exhaust systems too, Can Do Duct Cleaning has a useful guide on how to prevent mold in your bathroom through better exhaust fan maintenance.
A proper internal clean pays off in three ways. It lowers the grease load that can ignite under high cooking heat, helps the hood move contaminated air as intended, and reduces strain on the fan so the appliance has a better chance of lasting its full service life.
Creating Your Cooker Hood Cleaning Schedule
A good schedule prevents the sort of grease build-up that turns a routine wipe into a ladder job with strong degreaser and extra drying time. In Australian homes, that matters for more than appearance. Grease-laden filters and interiors reduce airflow, leave cooking fumes hanging in the room, and increase the combustible load sitting above the cooktop.
AS 1668.2 is written for mechanical ventilation design and performance, but the practical lesson at home is clear. Extraction only works properly when air can move through the hood without fighting a layer of sticky residue. If the hood is used regularly and never checked, it stops doing its job efficiently.
Cooker Hood Cleaning Frequency
| Task | Light Use (Cooks 1-2 times/week) | Average Use (Cooks 3-5 times/week) | Heavy Use (Cooks daily) |
|---|---|---|---|
| Wipe exterior surfaces | Fortnightly | Weekly | Several times per week |
| Check filter condition | Monthly | Monthly | Weekly |
| Wash metal grease filters | Every few months | Monthly | Every 1 to 2 months |
| Clean under-filter interior surfaces | As needed | Every few months | More often if grease is visible |
| Deep clean canopy and fan area | Periodically | Periodically | More often if cooking is high heat or oily |
| Replace charcoal filters if fitted | Follow appliance manual | Follow appliance manual | Follow appliance manual |
That table is a starting point, not a fixed rule.
I adjust the schedule based on what is cooked and how the kitchen behaves after dinner service at home. A household that grills fish, stir-fries on high heat, or shallow-fries a few nights a week will load a hood faster than a family boiling pasta and reheating soups. In open-plan homes, you usually notice poor extraction earlier because odours and fine grease travel straight into living areas and soft furnishings.
A few practical adjustments make the schedule more accurate:
- Low-oil cooking: keep the monthly filter check. Light cooking still leaves residue over time, especially around the filter frame and switch area.
- Frequent frying or wok cooking: shorten the filter wash cycle and inspect the canopy more often. High heat throws grease further and bakes it on harder.
- Gas cooktops: check more often if you see yellowing near the hood or lingering combustion odours. Good extraction supports indoor air quality as well as grease control.
- Airbnb and short-stay properties: inspect between guest stays. Irregular use often means maintenance gets missed until smells or visible grease become obvious.
For kitchens that edge into heavier-duty use, commercial routines offer a useful benchmark. Facility Management Insights' cleaning guide is a practical reference for building a repeatable checklist.
Set reminders. Keep it boring and regular. A ten-minute check each month protects airflow, reduces fire risk above the cooktop, and puts less strain on the motor over the life of the appliance.
Troubleshooting and When to Call a Professional
A cooker hood that still underperforms after a careful clean usually has a problem deeper than surface grease. In Australian kitchens with gas cooktops, wok burners, or frequent high-heat frying, weak extraction affects more than comfort. It leaves grease and combustion by-products in the room longer, reduces the hood's ability to move air as intended under AS 1668.2, and keeps more heat and residue sitting near the canopy and duct entry.
Common issues after cleaning
The hood is still noisy
Check the reassembly first. Filters should sit flat, covers should lock properly, and nothing should touch the fan as it spins. If the sound is still a rattle, scrape, or grind, the issue is usually wear, a loose fixing, or internal damage. More scrubbing will not solve that.
Odours remain after cooking
Clean filters do not guarantee clean airflow. Recirculating hoods often need a new charcoal filter, and ducted systems can hold grease further along the run or near the outlet. That restriction cuts extraction, leaves fumes indoors, and puts more strain on the motor over time.
Lights flicker or controls behave oddly
Treat that as an electrical fault. Stop using the hood until it has been checked, especially if moisture may have reached the switches or control panel. In my experience, this is one of the clearest points where a cleaning job becomes a safety job.
Grease drips return quickly
That usually means grease is still hiding above the visible filter line, around the fan inlet, or inside canopy seams. Once the hood heats up, old residue softens and drops back onto the cooktop. Over gas, that is a risk worth taking seriously.
When DIY stops being the smart option
Routine filter washing and exterior cleaning are manageable for most households. Thick internal build-up, motor faults, and electrical problems need a different level of care.
Call a professional when:
- Build-up is thick and baked on: old grease in seams, fan housings, and hidden interior surfaces often needs the right product, safe dwell time, and controlled removal.
- The hood is high, wide, or awkwardly positioned: climbing over a cooktop with tools and degreaser is a common way a simple job turns into an injury.
- Airflow is still poor after cleaning: the cause may be blocked ducting, a failing motor, or damaged components rather than dirt.
- There are signs of heat stress or electrical trouble: hot switch panels, burnt smells, flickering lights, or tripping circuits need a qualified technician.
- The property gets heavier use: short-stay rentals, large family kitchens, and homes that fry often usually need a deeper internal service to keep grease from building back too quickly.
I treat these signs as practical warnings. If grease is restricting airflow or sitting close to heat, the hood is no longer doing the job it was installed to do, and that has direct consequences for fire safety, indoor air quality, and appliance life.
Star Cleaner Australia Pty Ltd can arrange safety-checked operators for residential and commercial cleaning work when routine maintenance is no longer enough. That is often the right call for heavy internal grease, difficult access, or recurring performance issues. For bookings or service details, visit https://starcleaner.com.au.
A cooker hood will usually give you warning signs before failure. Weak draw, repeated grease drips, abnormal noise, and electrical faults should be acted on early. Quick attention protects the motor, keeps extraction working properly, and lowers the chance of grease and heat building up where they should not.